When you've been walking the conscious path for a while, something shifts in how you experience beauty. You can sense whether art carries actual presence or simply represents spiritual concepts. You've developed discernment about what genuinely supports your practice versus what decorates your walls...
You've curated all the right elements for your sanctuary and. It feels serene, yet... the space doesn’t feel alive with possibility. What if sacred space isn't about peace and calm, but about how your space mirrors, then amplifies your truest vibration?
If you've ever stood in your carefully arrang...
You finish your morning meditation feeling centered and connected, but by the time you're checking emails or sitting in your first meeting, that sense of inner peace has already started to fade. Suddenly you're pulled back into the chaos of daily life. Sound familiar? This is the trap of compartment...
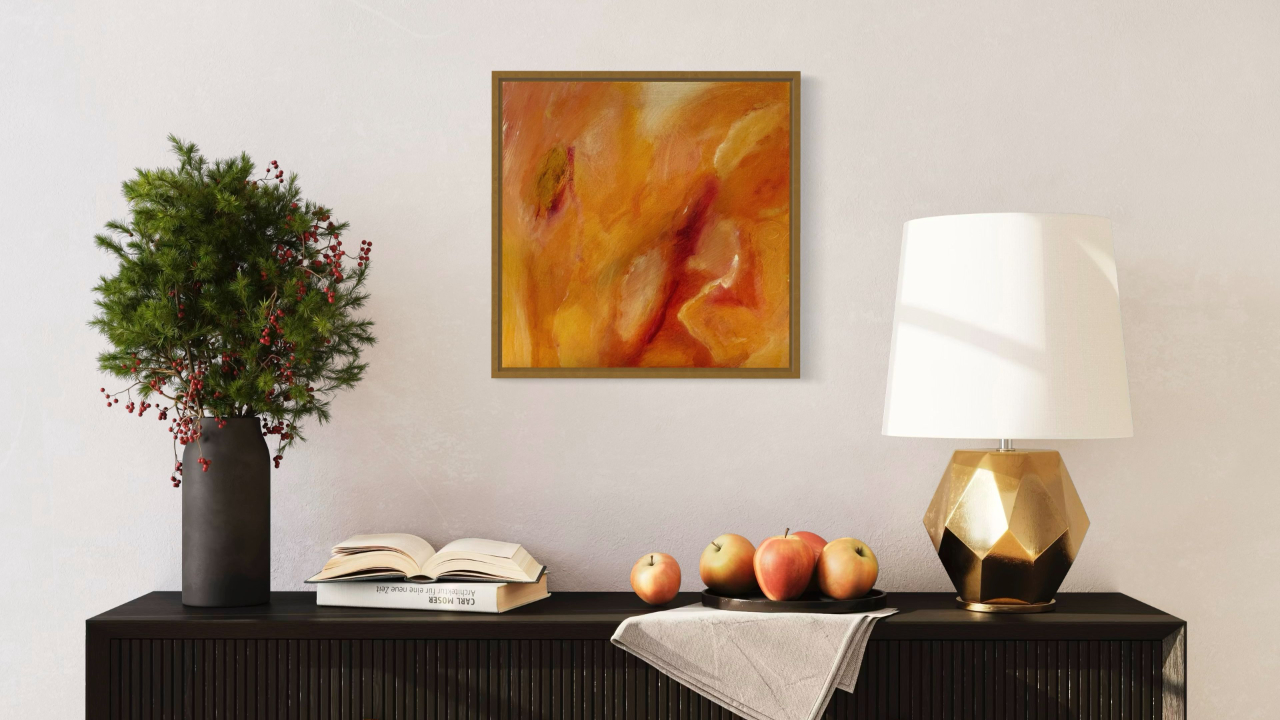
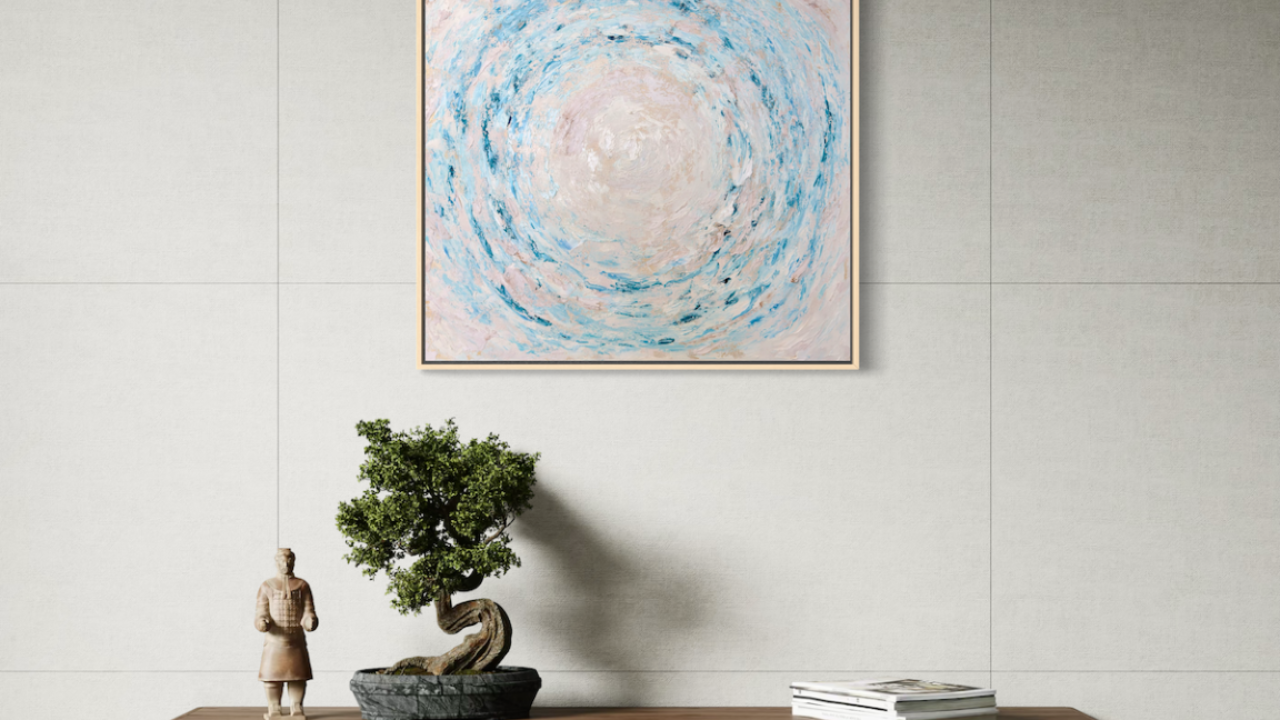
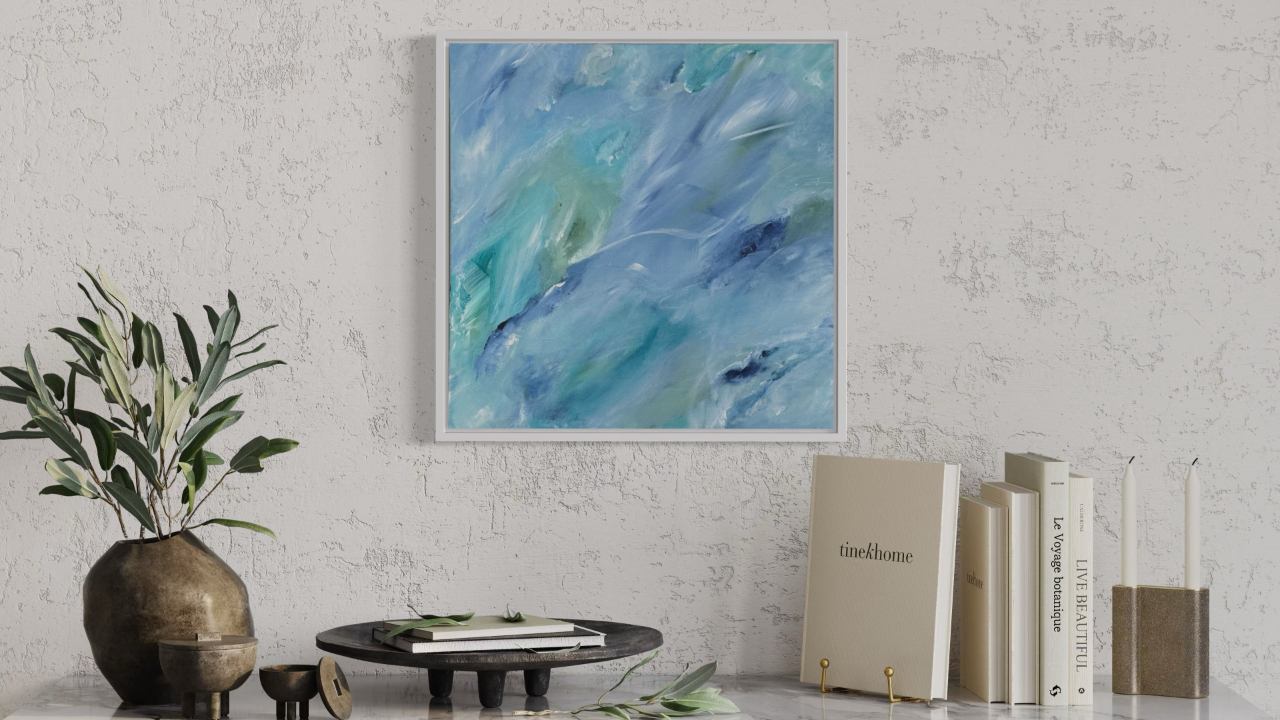
Everything is energy - including the art in your sacred space. Yet most people choose spiritual art based purely on how it looks, not how it feels or what energy it brings to their practice.
When choosing spiritual art, most people tend to gravitate towards mandalas, chakra symbols, or religious ar...
